Creating a VueJs app to fetch data from API
VueJS Bootstrap API axiosCreating a VueJs application using vue cli. Fetching data (using axios with devServer proxy) from API backend then display the records in a Bootstrap themed table. Using different versions of the API we can filter the returned results.
VueJs
VueJs is a well known, lightweight, frontend javascript framework, loved by millions – and also by me. Why there is so much love? Well, quoting from the official website:
- VueJs is approachable: Already know HTML, CSS and JavaScript? Read the guide and start building things in no time!
- VueJs is versatile: An incrementally adoptable ecosystem that scales between a library and a full-featured framework.
- VueJs is performant: 20KB min+gzip, Runtime Blazing Fast Virtual DOM, Minimal Optimization Efforts
In this article we will create a basic HelloWorld VueJs application with the help of Vue CLI. Then we will take this generated base app and form it to our needs, which means fetching data from an API backend and then displaying it in a table form.
Vue cli
Prerequisite
To start, our first thing will be to create the application from the Vue CLI. To create the application we will need to have npm installed on our machine. NPM stands for Node Package Manager which is the standard pkgmanager for nodeJs. So before continuing, make sure that you have npm installed.
Installing Vue CLI
For the installation we simply execute this command npm install -g @vue/cli from the command line, and it will install us the full Vue CLI.
Creating the app from CLI
After it’s installed we can create our Vue app using this command: vue create json-to-table-app
After that we will receive a message to select if we want to use the default preset or select manually what we want to install – as the image shows below. Here choose the default option and hit enter. After this, a few moments will be needed until all the neccessarry packages will be downloaded and our application will be created.

Launching the application
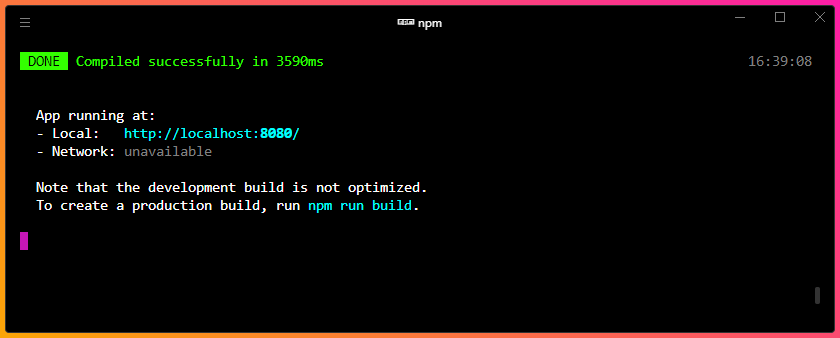
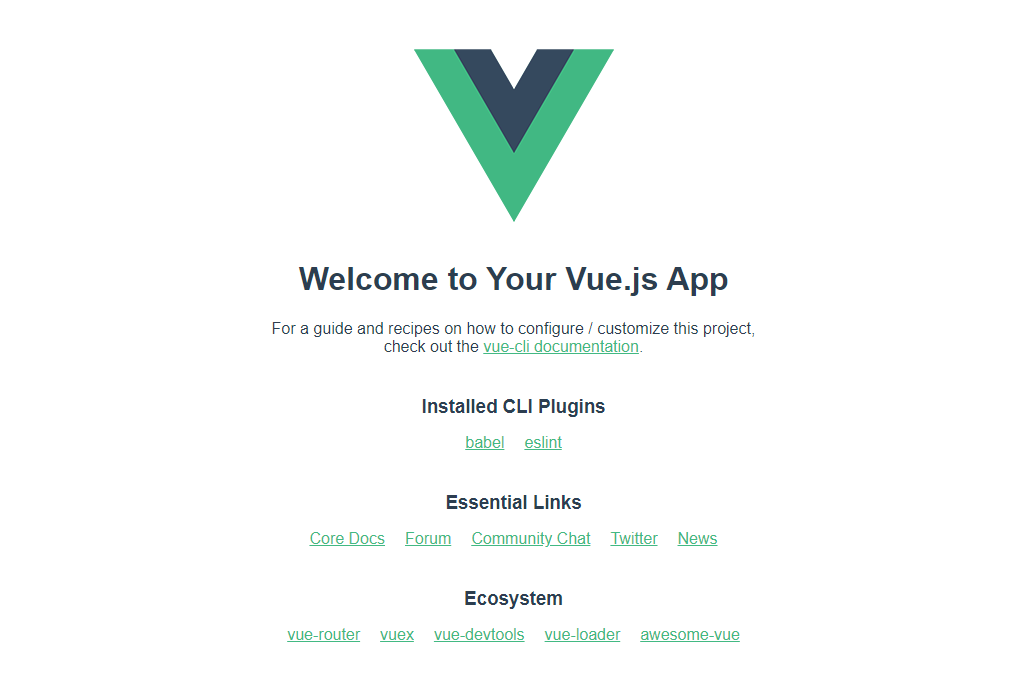
After the installation is done, we should see a screen where everything it good to go and there are no errors. From the command line cd to the right folder and execute npm run serve command. This command will build the application to developer mode and displays us where to reach the app. It is usually http://localhost:8080 but can be different based on your machine’s settings. Check out this url from the browser and we can see the default vue application with the logo and a few links, which can be seen below.


Backend to be used
Before jumping into the coding check out the backend which will be used. This was created previously in this article, check out if you missed it. The endpoint can be reached by this url: https://siposm.hu/demo/api/endpoint.php (link here). It basically returns us back a JSON object about people with a few properties.
Creating the application
In the applicaiton we will fetch this JSON object and display it in a table form.
Styling with Bootstrap
For styling the first thing we will add is a Bootstrap template because later we will need them for the buttons. For this find index.html in the public folder and add this line to the head section:
1
<link rel="stylesheet" href="https://stackpath.bootstrapcdn.com/bootstrap/4.3.1/css/bootstrap.min.css" integrity="sha384-ggOyR0iXCbMQv3Xipma34MD+dH/1fQ784/j6cY/iJTQUOhcWr7x9JvoRxT2MZw1T" crossorigin="anonymous">
Creating the Vue app
In the components folder there is a HelloWorld.vue file which we should modify. It can be renamed also, but for this demo it’s fine. We want to get rid of everything inside the template tags, so delete everything until we get this:
1
2
3
4
5
<template>
    <div class="hello">
        <!-- we will put the code here -->
    </div>
</template>
Adding the buttons
Firstly we will add the buttons wit some heading to the GUI, so inside the <div class="hello"> add these lines:
1
2
3
4
5
6
<h2>VueJs Developer List</h2>
<hr>
<button type="button" class="btn btn-sm btn-outline-success" v-on:click="fetchAllData">LOAD ALL</button>
<button type="button" class="btn btn-sm btn-outline-success" v-on:click="fetchDataWithParam('40')">LOAD 40 YO</button>
<button type="button" class="btn btn-sm btn-outline-success" v-on:click="fetchDataWithParam('22')">LOAD 22 YO</button>
<hr>
We have three buttons with three different API calls:
fetchAllData: will fetch all the recordsfetchDatawithParam('40'): will fetch only the 40 year old peoplefetchDatawithParam('22'): will fetch only the 22 year old people
Note that we already used the Bootstrap classes for the buttons.
Adding the content area
After the <hr> continue with these lines of code:
1
2
3
4
5
6
7
8
9
10
11
12
13
14
15
16
17
18
19
20
21
22
23
24
<div class="content">
  <h3>Developers in the company</h3>
  <table class="table">
    <thead>
      <tr>
        <th>NAME</th>
        <th>AGE</th>
        <th>JOB</th>
        <th>SAL</th>
      </tr>
    </thead>
    <tbody>
      <tr v-for="item in fetched_items" :key="item.name">
        <td>
          <img v-bind:src="item.img" alt="profile image" class="prof-img">
          {{ item.name }}
        </td>
        <td>{{ item.age }}</td>
        <td>{{ item.job }}</td>
        <td>{{ item.salary }}</td>
      </tr>
    </tbody>
  </table>
</div>
Quickly sum up what these lines mean here. So we placed a heading and below that a table which will hold the records. Each person record holds a name, age, job and salary parameter, and also one image but it will be shown beside the name so there is no separate <th> for that.
In the <tbody> we created the skeleton of the table and using v-for Vue loop we can get the data from the Vue app code later on and it will fill the parts. Basically it will iterate through the fetched_items array, take one item out and after that we can reach the properties of the given object like item.name.
One tricky part is the image. Here we have to use v-bind to grant the source. The other way would be this code below, but this is no longer supported in Vue.
1
<img src="{{ item.image }}">
Adding the footer
For the footer nothing crazy will be made, only a basic “ending” is added to close the page’s bottom.
1
2
3
4
5
<div id="footer">
<hr>
<p>VueJs Developer List © 2020</p>
<a class="btn btn-sm btn-outline-success" href="https://siposm.hu" target="_blank">siposm</a>
</div>
Using axios to fetch data
Axios is a promise based HTTP client for the browser and for node.js. It’s used for communication to/from API endpoint. To use it we have to import it at the beginning of the script. In the data part we will create an array named fetched_items – which we already used in the v-for loop previously. In the methods we will have two different functions, one for all the data and one for the parameter version. Axios needs to be installed, also from the CLI: npm install axios
Our full script code will look like this:
1
2
3
4
5
6
7
8
9
10
11
12
13
14
15
16
17
18
19
20
21
22
23
24
25
26
27
28
<script>
import axios from 'axios'

export default {

  data() {
    return { fetched_items: [] }
  },

  methods: {
    fetchDataWithParam: function (ageParam) {
      axios.get('https://siposm.hu/demo/api/endpoint.php?age='+ageParam).then( resp => {
        console.log('--- SUCCESS ---')
        this.fetched_items = []
        resp.data.forEach( x => this.fetched_items.push(x))
      }).catch(()=> { console.log('--- ERROR ---') })
    },

    fetchAllData: function () {
      axios.get('https://siposm.hu/demo/api/endpoint.php').then( resp => {
        console.log('--- SUCCESS ---')
        this.fetched_items = []
        resp.data.forEach( x => this.fetched_items.push(x))
      }).catch(()=> { console.log('--- ERROR ---') })
    }
  }
}
</script>
CORS error and dev server
If we start to run this, one problem may occur and that is CORS (Cross-Origin Resource Sharing) error. It happens when we request data from a different domain (/server) than we are currently at. “CORS defines a way in which a browser and server can interact to determine whether it is safe to allow the cross-origin request.” So what does it mean? We request data from https://siposm.hu but we are at http://localhost:8080, it’s obviously two totally different domain / server.
The image below shows in detail what is going under the hood regarding the requests.
On figure 1 we can see the normal operation of a website. We send request from a browser to the siposm.hu server. It sends us back the content which is now written as JS content (but also HTML, CSS etc.). Then, in the JS content we wrote the axios.get(...) part, which refers back the same server! This scenario is good.
On figure 2 we are in development mode, so we code on localhost. The same happens at first, we request data from the browser from the server (which is localhost for this time). It returns us back the contents just like before. The JS code would like to call again the axios.get(...) part, again with siposm.hu server reference. But this won’t work out, since the first request from http://localhost:8080, and the second request from https://siposm.hu are two different servers.

To solve this, we can use a so called development server in VueJs which will overcome this problem for the development time. This can be seen on figure 3.. DevServer can be interpreted as a communication layer between the two sides. Sidenote: devserver proxy is not a VueJS “component”, rather a WebPack thing. To do this, we have to create a vue.config.json file in the root of the application and it’s content should be this:
1
2
3
4
5
module.exports = {
    devServer: {
        proxy: 'https://siposm.hu/'
    }
};
This will redirect our localhost requests to this proxy server. At the moment we are not done yet! Because in the script part we have to switch the https://siposm.hu part to http://localhost:8080. So the full line should look like this:
1
2
axios.get('http://localhost:8080/demo/api/endpoint.php?age='+ageParam) [...]
axios.get('http://localhost:8080/demo/api/endpoint.php') [...]
When creating a devServer it’s important to stop the app from running with ctrl c in the CLI and then re-start it with npm run serve! Otherwise these settings (devServer proxy) will not be used.
For additional details this Mozilla article covers the full CORS problem in details, so make sure to check it out.
Testing
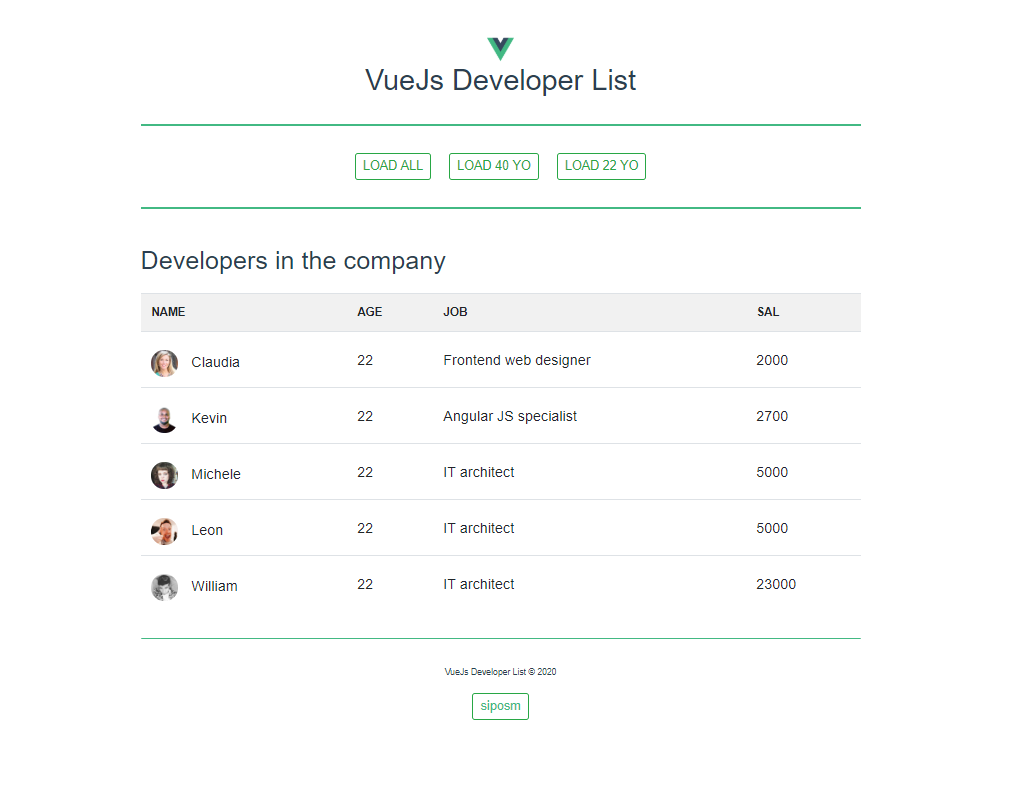
After the modifications regarding the dev server have been done, we can finally test the application. Click on the different buttons, different people are listed in the table.
Some more styling
To reach a better looking result I added some custom made stylings in the <style scoped> section. All these can be watched here, but hence the code is sooo long vertically, I do not show it here.

Conclusion
What we have done
In this article we got familiar with VueJs. We created the application from Vue CLI using the right commands. The application can be built by running npm run serve and it can be viewed from the browser at http://localhost:8080/. We created / modified the .vue content to match our needs, used v-for loop to go through all items in the array, which was filled by the objects fetched from the API backend after we clicked the corresponding button. We got familiar with the dev server and the proxy in the config file.
Real application
The fully working, deployed application can be reached here for testing.
Downloadables
The full project can be downloaded from the GitHub repository here.
Or clone it.
git clone https://github.com/siposm/vue-json-to-table.git